Unlock Your Hips And Activate Your Glutes
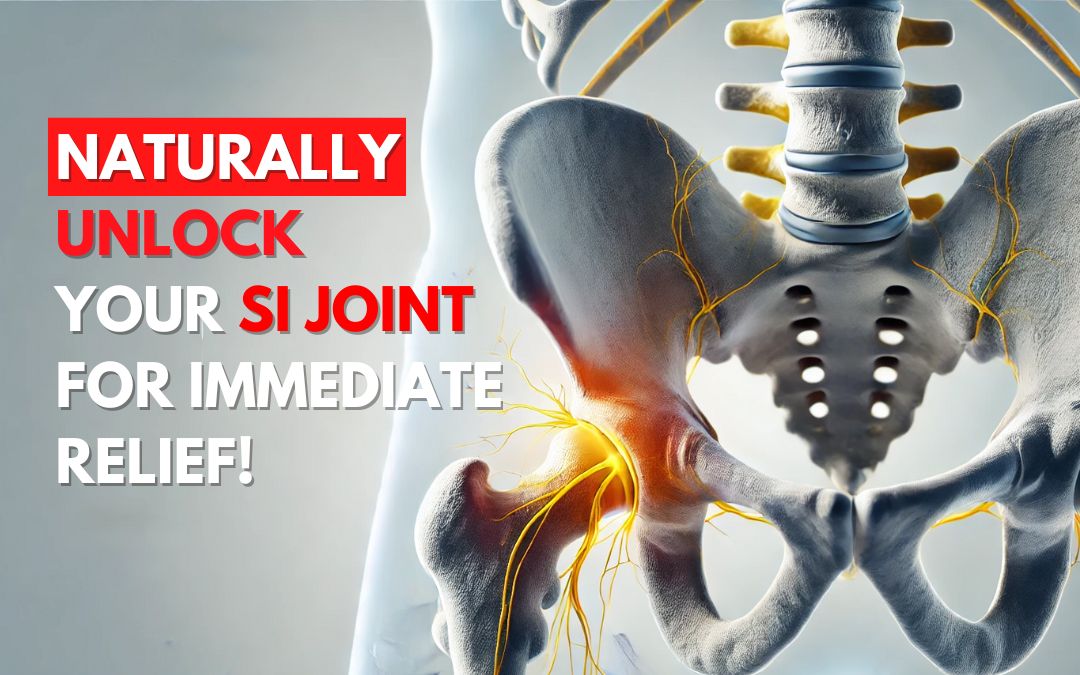
Do you feel tightness in your hips or struggle with lower back pain after sitting all day? Perhaps your workouts aren’t as effective as you’d hoped, and you’re wondering why your glutes won’t fire as they should. These issues are often linked to poor hip mobility and inactive glutes—a problem many of us face in today’s sedentary world.
The good news? By focusing on unlocking your hips and activating your glutes, you can experience better posture, improved athletic performance, and a reduced risk of injury. Let’s dive into why this combination is essential and explore simple strategies to achieve lasting results.
Why Hip Mobility and Glute Activation Matter
The Role of Your Hips
Your hips are a critical part of your body’s kinetic chain. They act as a powerful hinge that supports everything from walking to jumping. When your hips are tight or immobile, this foundational movement pattern is disrupted. Over time, poor hip mobility can lead to compensation in other areas, such as your lower back or knees, causing pain and stiffness.
Glute Activation: More Than Just Aesthetic
The glutes—comprising the gluteus maximus, medius, and minimus—are the powerhouse of your body. They play a crucial role in stabilizing your pelvis, supporting upright posture, and generating explosive power in athletic movements. Inactive or underperforming glutes can lead to imbalances, reduced strength, and a higher risk of injury.
Signs You Need to Unlock Your Hips and Activate Your Glutes
- Persistent Lower Back Pain: Tight hips place undue strain on your lower back.
- Limited Range of Motion: Difficulty squatting, lunging, or bending forward may indicate hip restrictions.
- Flat or Underdeveloped Glutes: Poor activation reduces gluteal strength and definition.
- Imbalances in Gait or Movement: A noticeable limp or asymmetry could stem from poor hip mobility and inactive glutes.
Benefits of Unlocking Your Hips and Activating Your Glutes
- Improved Posture: Relaxed hip flexors and engaged glutes help maintain spinal alignment.
- Enhanced Athletic Performance: Strong glutes generate power for activities like running, jumping, and lifting.
- Reduced Injury Risk: Balanced hips and active glutes minimize stress on surrounding joints.
- Increased Mobility: Unlocking your hips improves your range of motion and flexibility.
How to Unlock Your Hips
1. Dynamic Stretches
Incorporate stretches that target the hip flexors, such as:
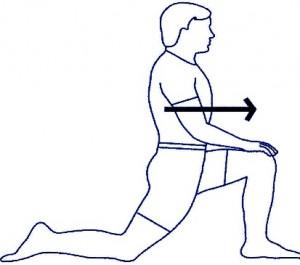
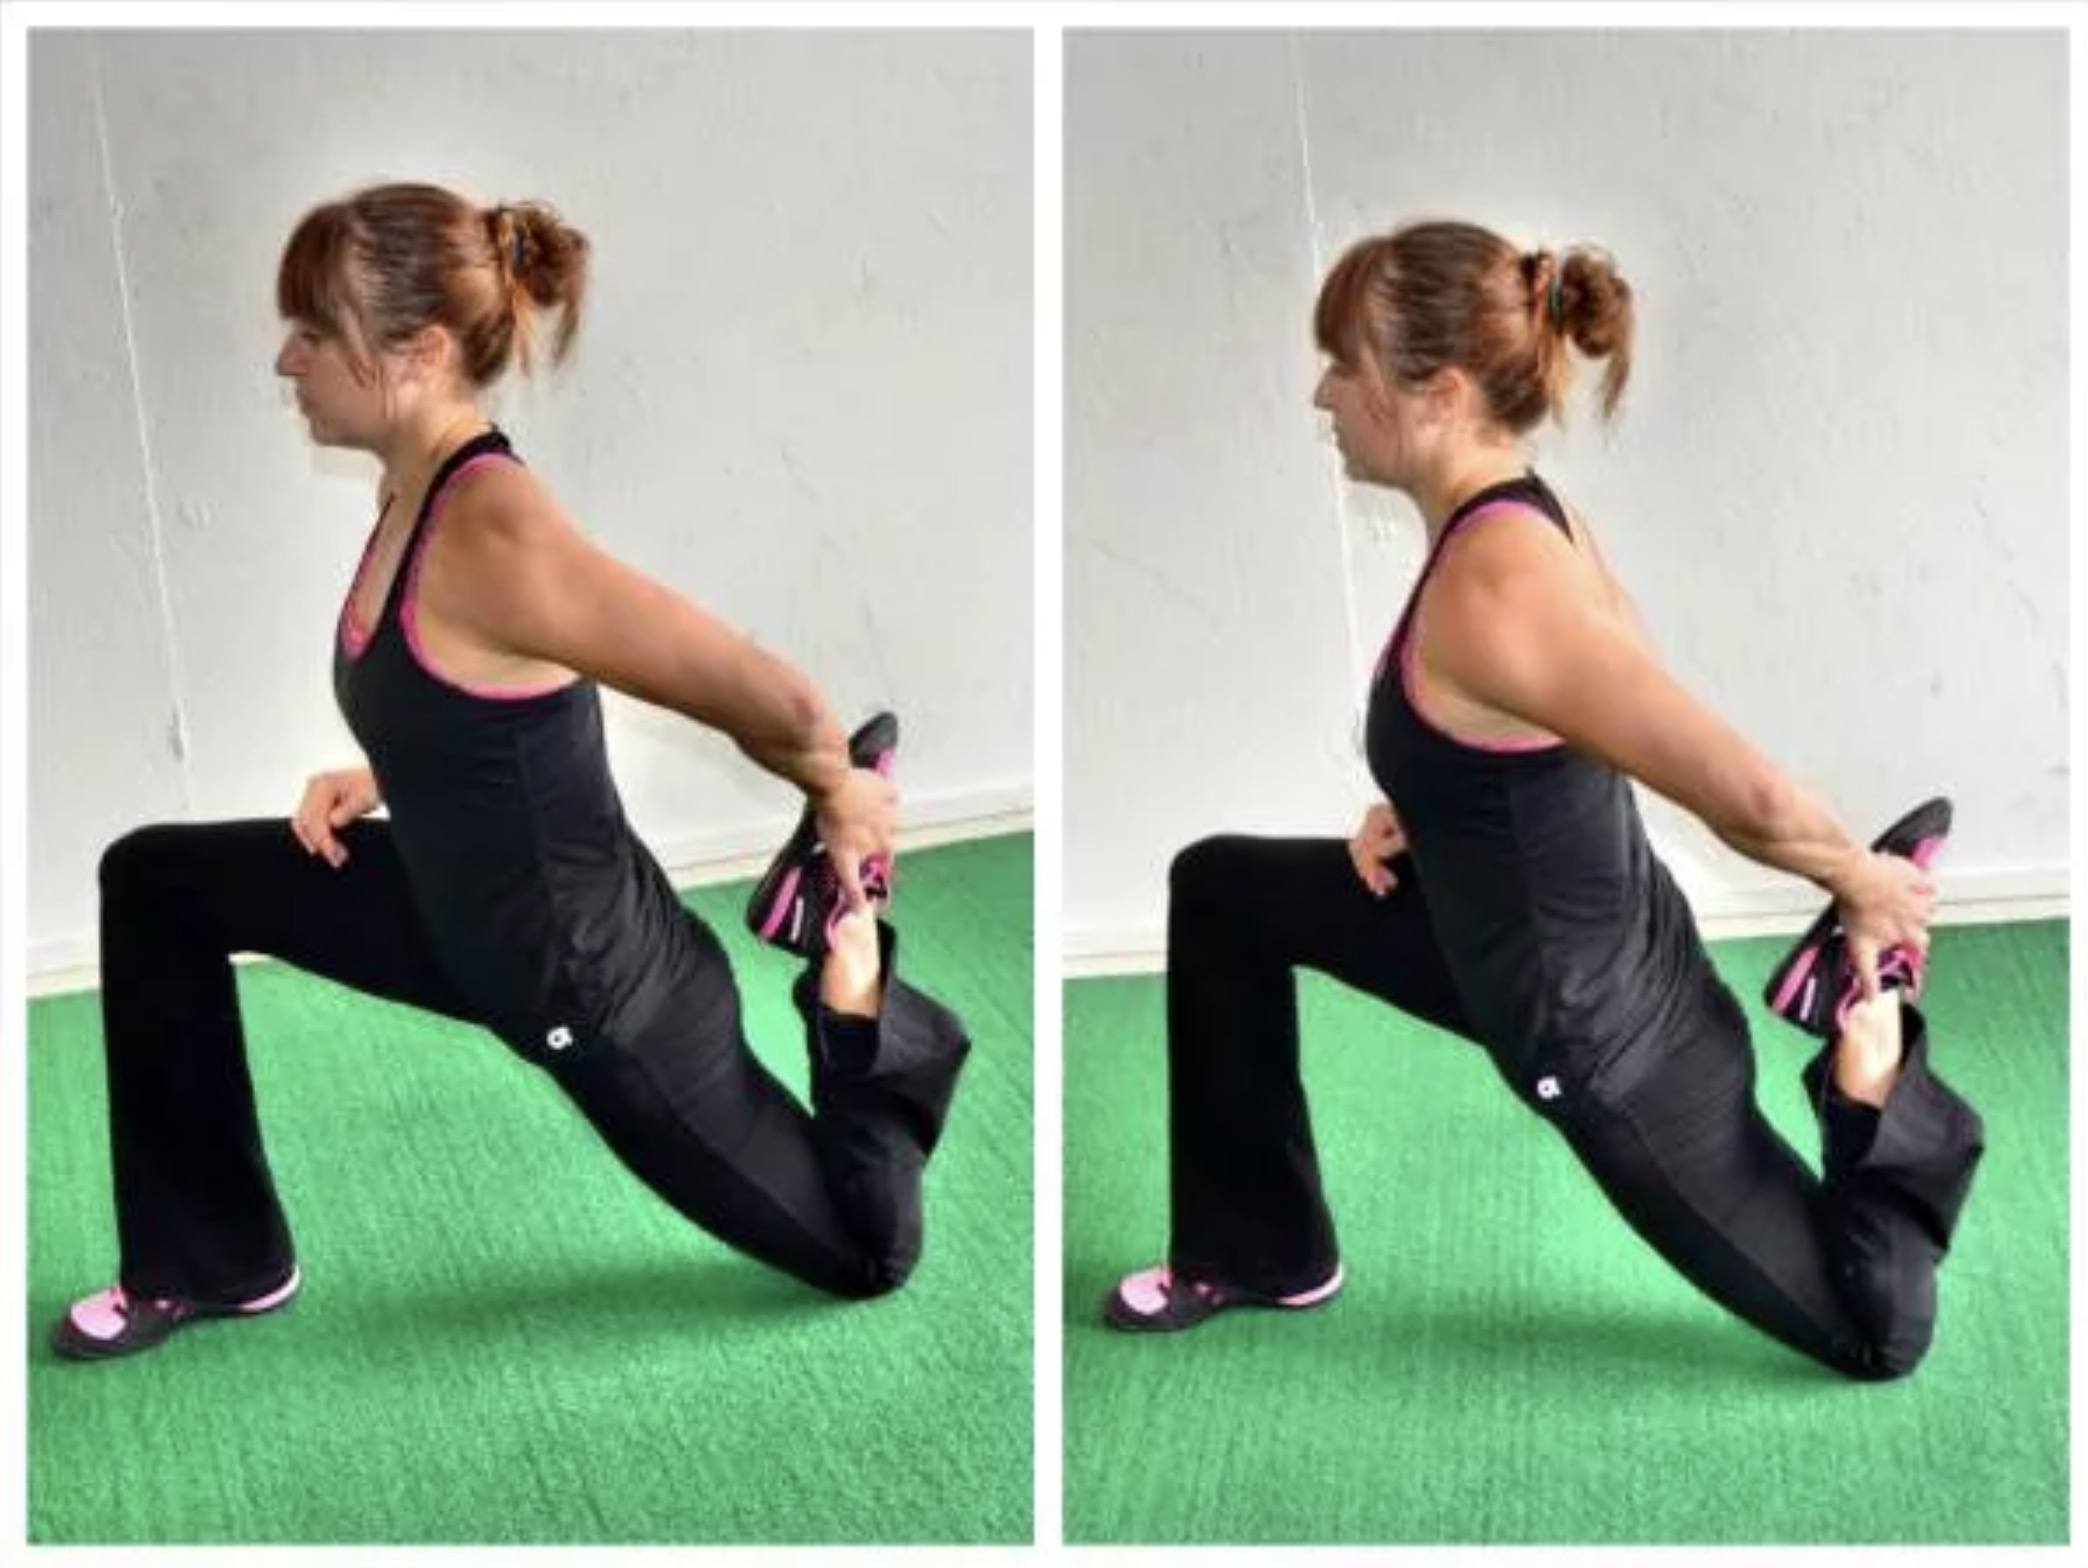
- Hip Flexor Stretch: Kneel on one leg and lean forward, keeping your chest upright.
- 90/90 Stretch: Sit with one leg in front and one behind, both bent at 90 degrees. Slowly lean into the front leg.
2. Foam Rolling
Use a foam roller to release tension in your hip flexors, quads, and IT band. Spend 1-2 minutes on each area before workouts.
3. Controlled Mobility Drills
Perform drills like:
- Hip Circles: Stand or kneel on all fours and move one leg in circular motions.
- World’s Greatest Stretch: A full-body stretch targeting the hips and thoracic spine.
How to Activate Your Glutes
1. Glute Bridges
Lie on your back with knees bent and feet flat. Press through your heels to lift your hips, squeezing your glutes at the top.
2. Clamshells
Lie on your side with knees bent. Keep your feet together as you lift the top knee, activating the gluteus medius.
3. Bird Dogs
Kneel on all fours. Extend one arm and the opposite leg, maintaining balance while engaging your glutes.
4. Resistance Band Exercises
Use a resistance band for movements like:
- Lateral Band Walks
- Monster Walks
These exercises add intensity and help isolate your glutes.
Combining Hip Mobility and Glute Activation
The most effective approach is integrating hip mobility exercises with glute activation drills. Here’s a sample routine:
- Foam rolling (2 minutes)
- Dynamic stretches (5 minutes)
- Activation drills (5-10 minutes)
- Functional movements like squats or lunges
By pairing these elements, you’ll create a balanced, efficient system that supports both strength and flexibility.
Here’s the revised and refined version of the text, avoiding repetitions and improving clarity:
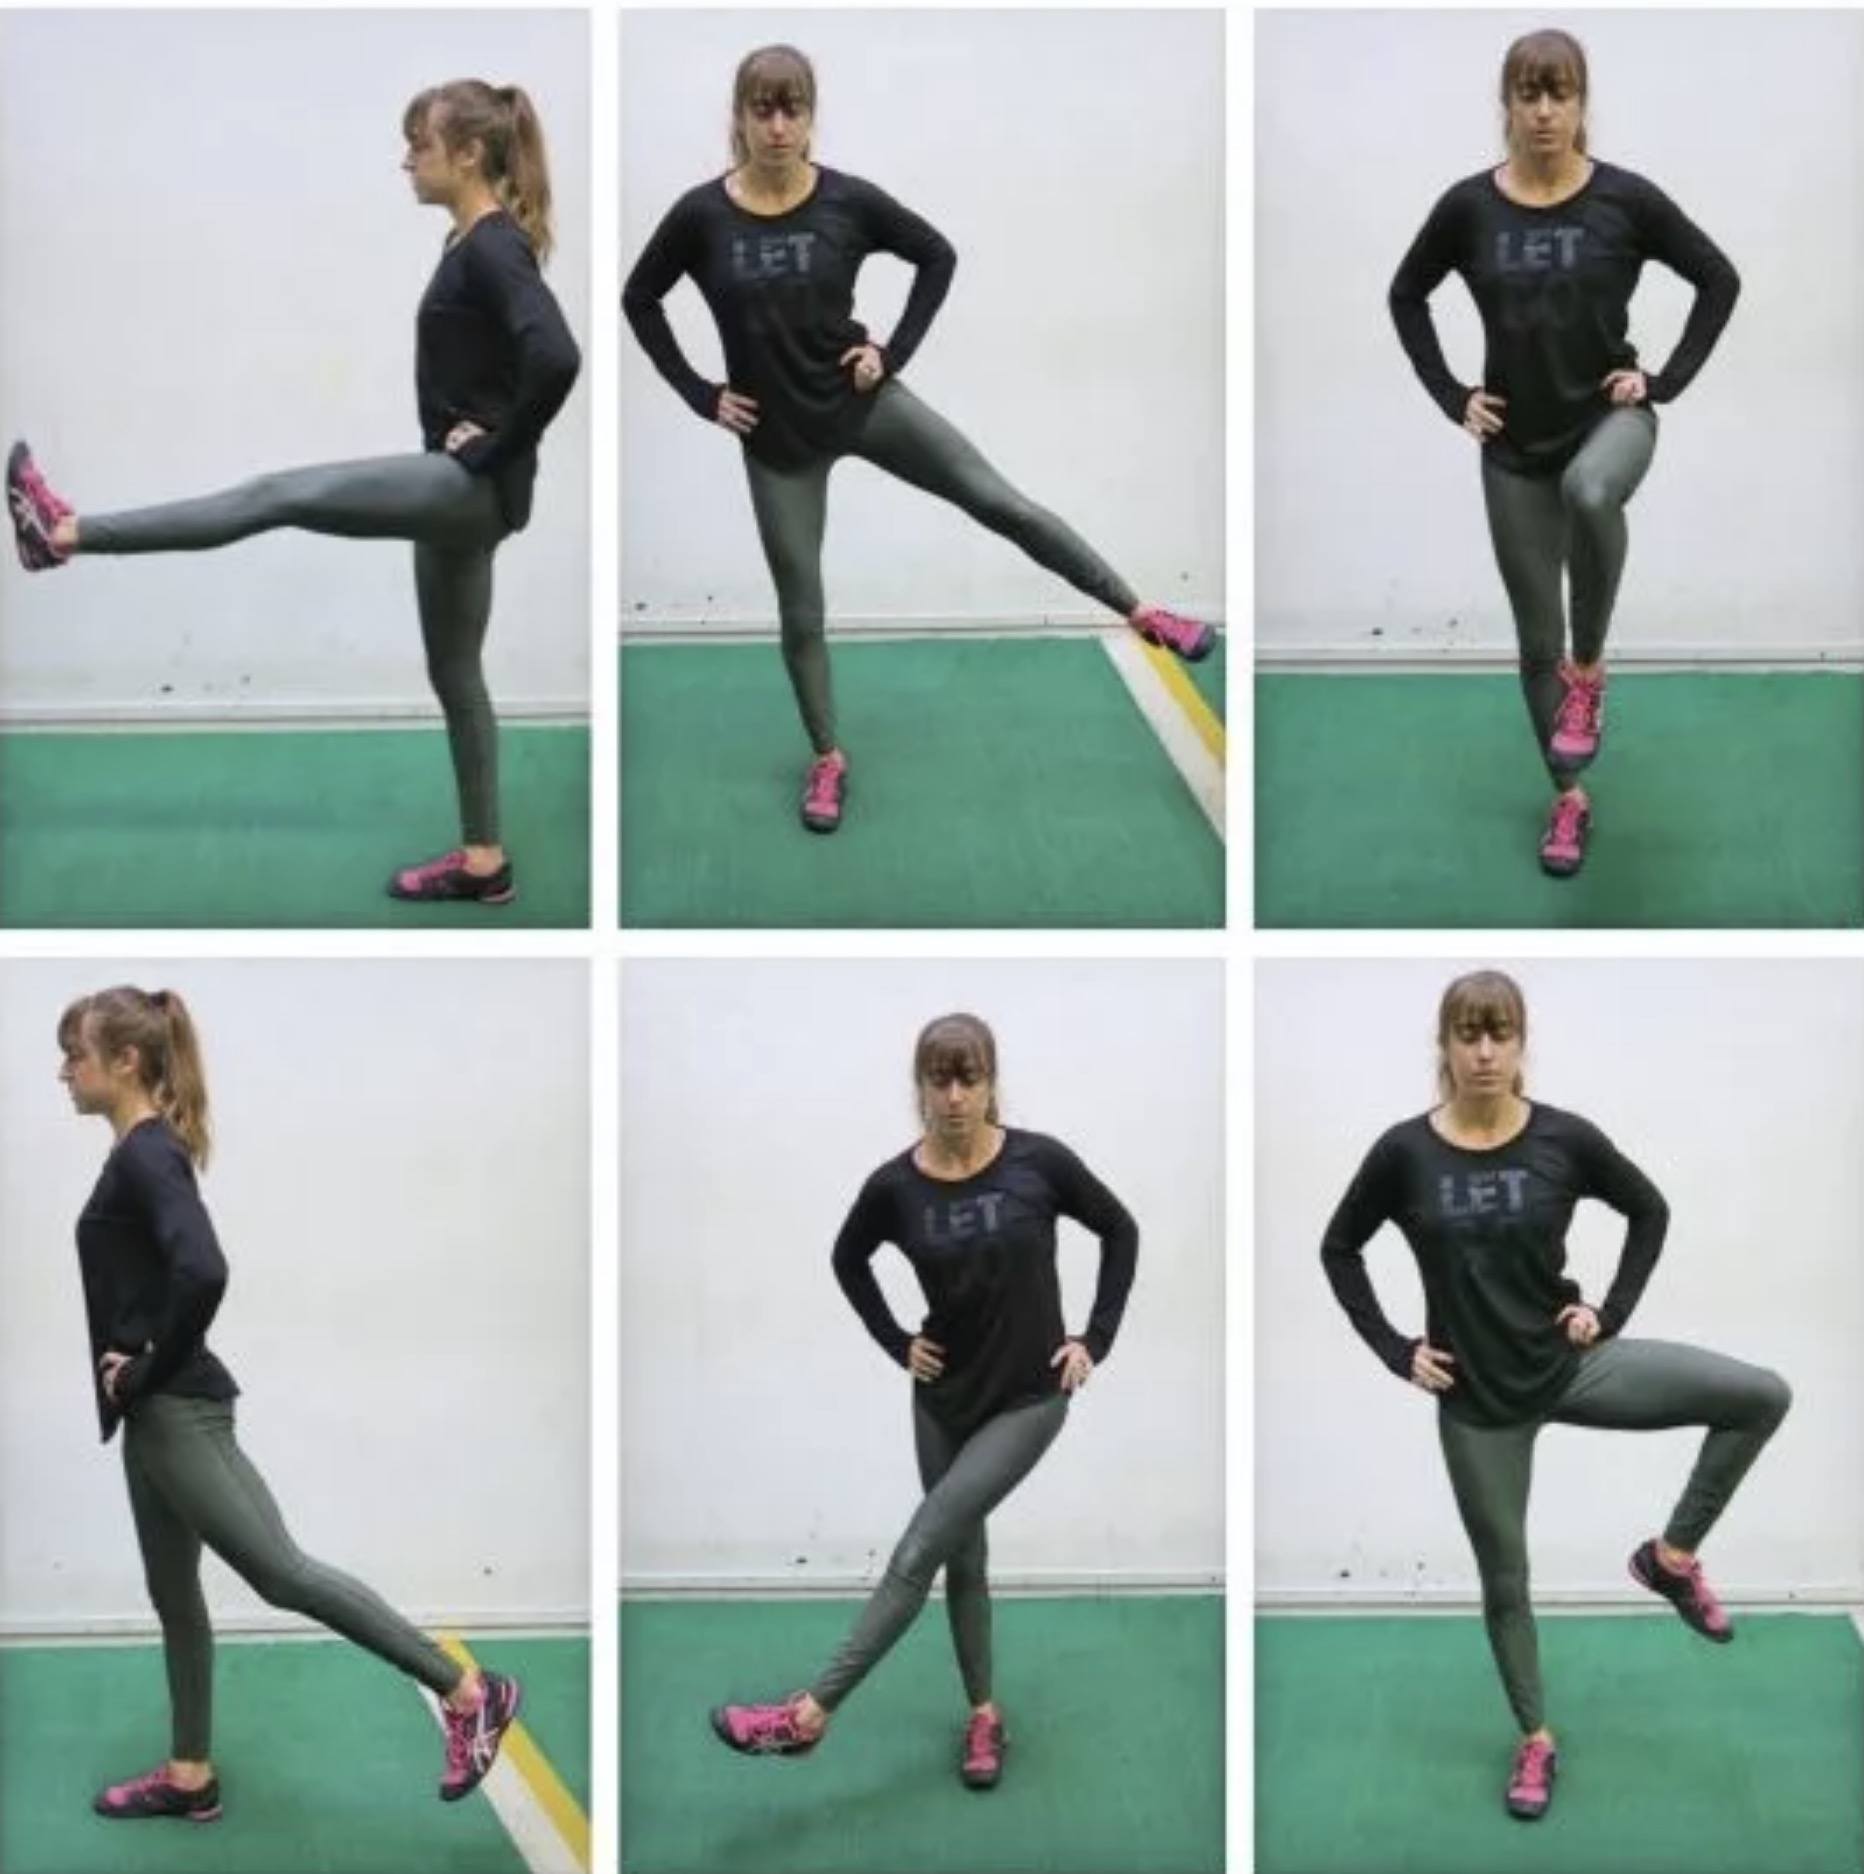
3-Way Leg Swings
To perform 3-Way Leg Swings, stand on one foot and engage the glute of your standing leg to maintain balance. Plant your foot firmly on the ground and brace your core, keeping your posture upright.
Forward and Backward Swings
Begin by swinging the free leg forward and backward, keeping both legs straight but not locked. Focus on moving from the hip joint rather than bending your knee. Larger swings will challenge your standing leg more as it works to stabilize.
If balancing is difficult, start with smaller swings and tap your swinging foot down to reset. You can also hold onto a wall to remove the balance element, but this will reduce the benefits of core and stability training.
Lateral Swings
After completing the forward/backward swings, perform lateral swings. Swing your free leg out to the side and then across in front of your standing leg. You may notice your glute activating as you lift and swing. Larger swings will enhance hip mobility and increase the demand on your standing leg for balance.
Rotational Swings
Lastly, bend the swinging leg’s knee to 90 degrees and perform rotational swings. Bring your knee in front of you, then open it outward to the side before returning to the starting position. Maintain the bent-knee position throughout, emphasizing movement from the hip. This will engage the glute of the standing leg and improve hip mobility.
Repeat all three swing variations on the opposite side.
Key Tips:
- Focus on control and activation rather than speed.
- If balance is a challenge, begin with simpler poses or smaller swings.
- You should feel your foot, calf, shin, glutes, and core working together during this exercise.
The Importance of Bridging
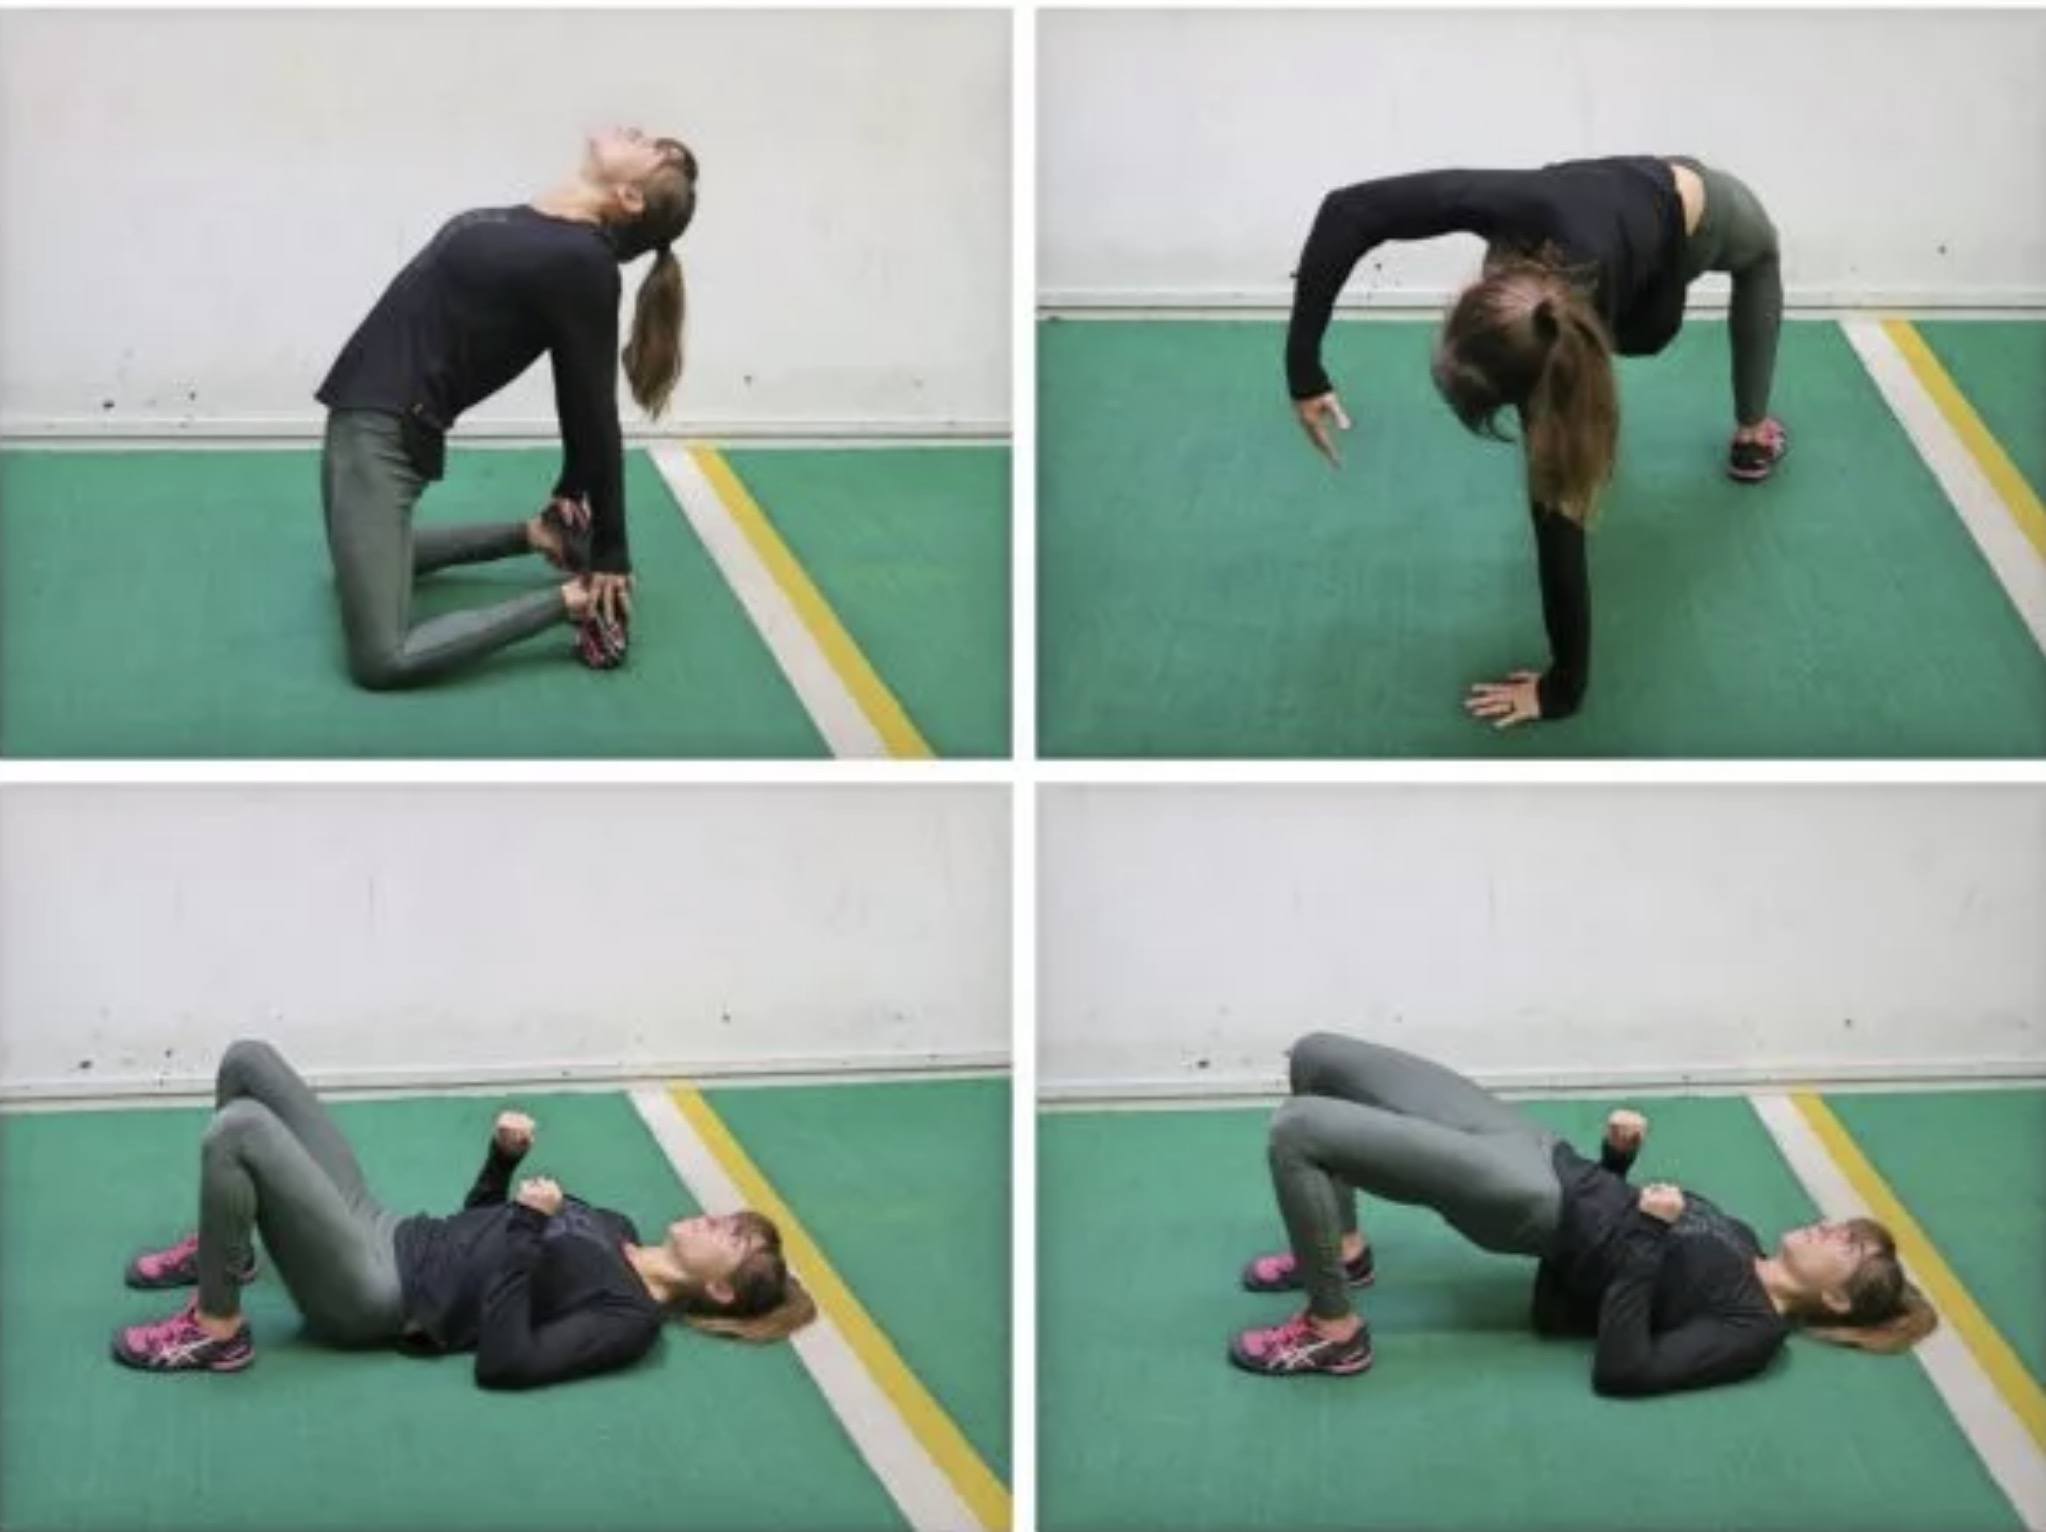
Incorporating bridge exercises into your routine is a simple yet effective way to improve hip extension and activate your glutes. Whether you choose a Camel Bridge, Tabletop Bridge, or Basic Glute Bridge, this movement should be a staple in your daily practice.
Why Bridging Matters:
- Enhances Hip Extension: Bridges stretch and strengthen the hip flexors, helping counteract the tightness caused by prolonged sitting.
- Activates Glutes: With proper form, bodyweight bridges allow for a stronger glute contraction, ensuring these muscles are engaged and functioning correctly.
- Supports Mobility and Pain Relief: By strengthening muscles through an improved range of motion, you can alleviate pain in the hips, lower back, and even the knees.
The Key to Lasting Hip Flexor Mobility
Stretching alone won’t keep your hip flexors unlocked. Stretching without follow-up activation or strength exercises often results in tightened muscles when you return to sitting. Instead, focus on strengthening the muscles through the newly achieved range of motion. This ensures lasting improvements in mobility while helping prevent pain and stiffness.
Key Takeaways:
- Include a Basic Bodyweight Glute Bridge in your routine, regardless of your fitness level. Returning to foundational movements helps reinforce the mind-body connection and ensures proper muscle engagement.
- Bodyweight exercises like bridges often allow for a stronger muscle contraction compared to more complex or weighted movements.
By combining activation, mobility, and strength-building exercises, you can unlock your hips, activate your glutes, and improve overall movement quality.
Transform Your Posture and Release Your Hip Flexors
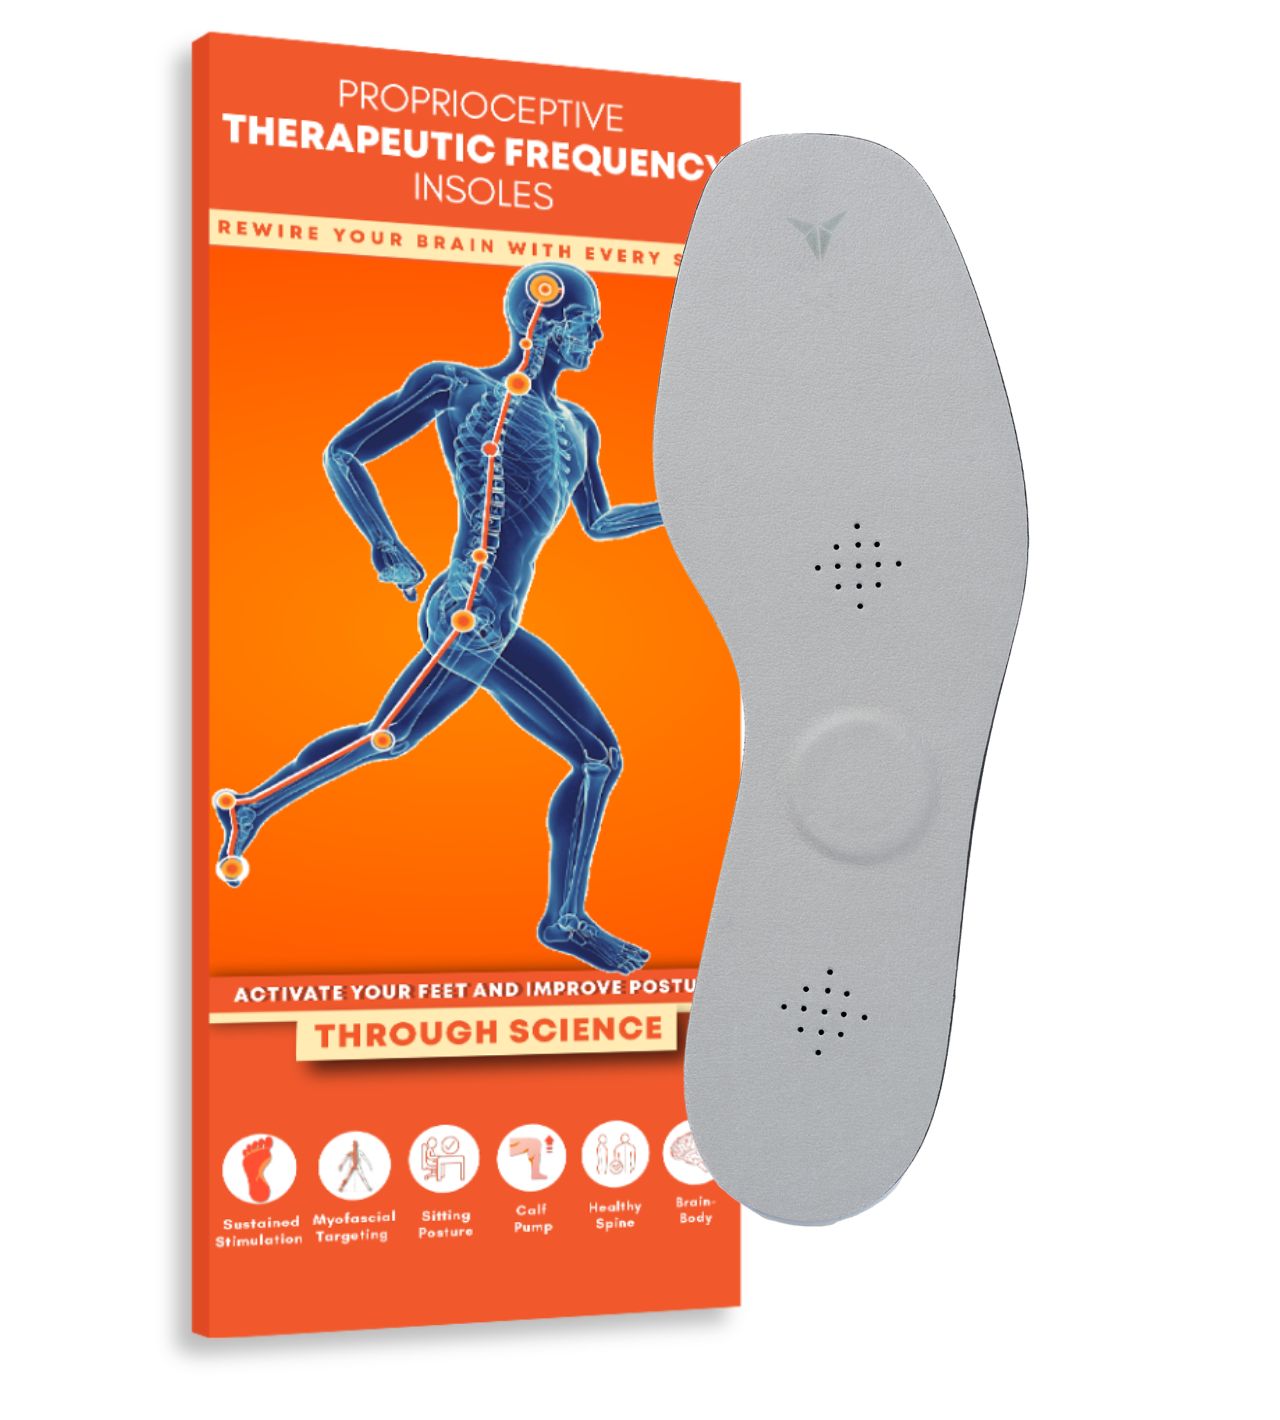
Struggling with discomfort or misalignment? The solution starts with your feet. Poor foot mechanics can create imbalances that impact your posture, gait, and even your hip flexors. Therapeutic Insoles are designed to restore proper foot engagement, improve alignment, and optimize your gait cycle—all from the ground up.
By addressing foot mechanics, you’ll:
✔️ Reduce strain on tight hip flexors and other key joints.
✔️ Improve posture and overall body symmetry.
✔️ Move with greater confidence and ease.
Ready to take the first step? Release your hip flexors and transform your posture with Therapeutic Insoles:
👉 Discover Therapeutic Insoles that improve your alignment here.
Recommended Solution for Hip Flexors
Therapeutic Insoles are designed to engage your body’s natural posture and alignment mechanisms, starting from the feet. By stimulating foot receptors and improving foot alignment, these insoles create a stable foundation that reduces strain on the pelvis and hip flexors. They support balanced weight distribution and activate muscles that promote better posture, helping to release tension and discomfort in tight hip flexors.
References:
Day, B. L., Steiger, M. J., Thompson, P. D., & Marsden, C. D. (1993, September). Effect of vision and stance width on human body motion when standing: Implications for afferent control of lateral sway. Retrieved from https://www.ncbi.nlm.nih.gov/pmc/articles/PMC1143881/
Kavounoudias, A., Roll, R., & Roll, J. P. (2001, May 01). Foot sole and ankle muscle inputs contribute jointly to human erect posture regulation. Retrieved from https://www.ncbi.nlm.nih.gov/pmc/articles/PMC2278585/
Oyarzo, C. A., Villagrán, C. R., Silvestre, R. E., Carpintero, P., & Berral, F. J. (2014). Postural control and low back pain in elite athletes comparison of static balance in elite athletes with and without low back pain. Retrieved from https://www.ncbi.nlm.nih.gov/pubmed/23963269
Shaikh, A. G., & Zee, D. S. (2017, December 19). Eye Movement Research in the Twenty-First Century-a Window to the Brain, Mind, and More. Retrieved from https://link.springer.com/article/10.1007/s12311-017-0910-5
Wang, Z., & Newell, K. M. (2012, September 19). Asymmetry of foot position and weight distribution channels the inter-leg coordination dynamics of standing. Retrieved from https://link.springer.com/article/10.1007/s00221-012-3212-7
Nejati P, Safarcherati A, Karimi F. Effectiveness of Exercise Therapy and Manipulation on Sacroiliac Joint Dysfunction: A Randomized Controlled Trial. Pain Physician. 2019;22(1):53-61.
Tamer S, Oz M, Ulger O. Effects of sacroiliac joint mobilization on hamstring muscle flexibility and quadriceps muscle strength. Orthop J Sports Med. 2014 Nov; 2(3 Suppl). doi:10.1177/2325967114S00174
How can I unlock my SI joint by myself?
By practicing gentle movements like the Pubic Symphysis Release and using therapeutic insoles, you can encourage your SI joint to relax. Consistency in these practices is key.
Is it possible to reset the SI joint without medical intervention?
Yes, many cases of SI joint discomfort can improve with exercises, proper foot alignment, and core strengthening. Posturepro’s brain-based approach also offers support by addressing alignment at its root cause.
Why does my SI joint keep locking up?
Recurring SI joint pain often stems from postural imbalances or weak core muscles. The body’s natural alignment can become disrupted when foot, eye, or pelvic inputs are misaligned.
How do I know if my SI joint is misaligned?
Symptoms like lower back pain, hip discomfort, or a feeling of instability in the pelvis may indicate SI joint misalignment. Observing your foot positioning and seeing how your hips align can provide clues.
How can I differentiate between SI joint pain and lower back pain?
Differentiating between SI joint pain and lower back pain can be challenging as they share similar symptoms. However, SI joint pain is typically localized in the buttocks and may radiate down to the legs.
Can physical therapy alone treat SI joint dysfunction?
Physical therapy can be highly effective in managing the symptoms of SI joint dysfunction. However, because physical therapy does not address the root cause, additional interventions may be required.
Is surgery the only option for chronic SI joint pain?
Surgery is typically considered as a last resort for chronic SI joint pain after non-surgical treatments have been exhausted. It is essential to explore conservative options first like posture correction, in order to address the main cause of the imbalance.
Can I continue exercising with SI joint issues?
Movement is said to activate the brain, but it’s crucial to understand that exercising with postural imbalances can lead to injury. Posture, controlled subconsciously by the brain, cannot be improved solely by trying harder. If your posture is misaligned before exercising, it remains so during exercise.
How long does it take to recover after SI joint surgery?
Recovery times vary depending on the surgical procedure and individual healing capacity. In general, full recovery may take several months. That’s why it’s important to work on prevention to avoid postural issues and potential surgical interventions altogether.Getting your posture assessed can significantly reduce the risk of developing posture-related problems and the need for surgery.
Are there any natural remedies that can help with SI joint pain?
The key approach is to focus on posture correction to prevent joint misalignment, ensuring proper pressure on the vertebral joints. In addition to this, some individuals find temporary relief through natural remedies like turmeric, ginger, or arnica creams.
FREE DOWNLOAD
Download the Brainpro app today and start your journey toward better posture and overall health.
